
FEED THESCORCHPOT
Game Guide & Database
A focused guide to building settlements, rolling the right Marks, cooking synergistic recipes, and feeding the dragon for all twenty years.
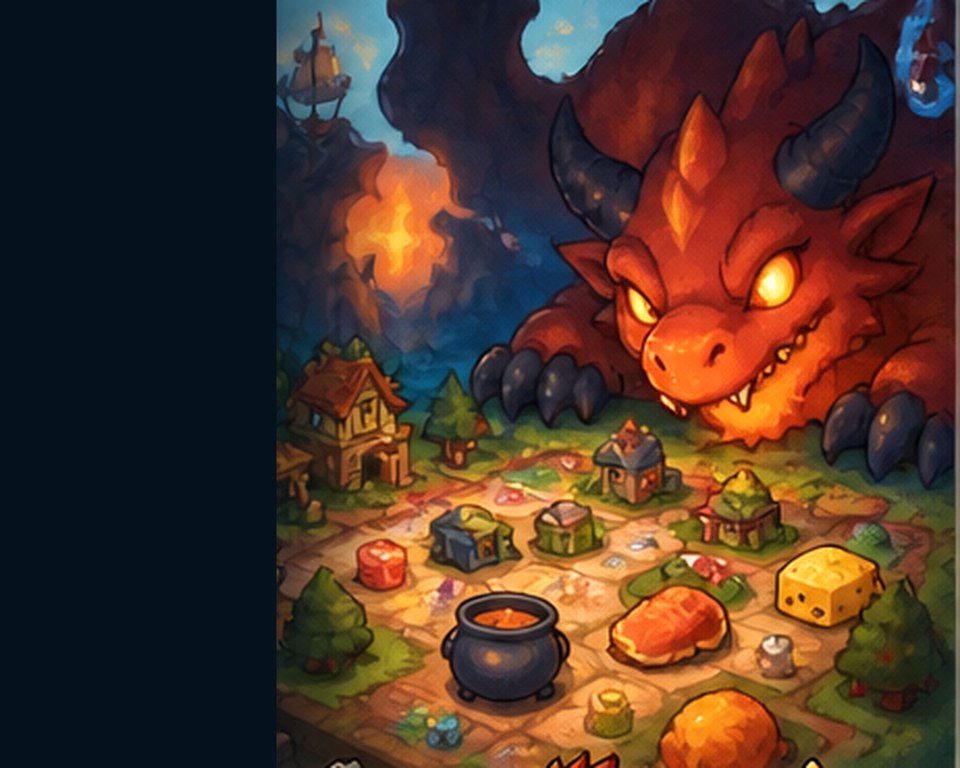
Learn the systems that decide a run
Best Builds & Synergies
Build around coherent scoring engines instead of isolated items: high Marks, focused ingredients, Flavor scaling, Prosperity snowballing and recipe synergies.
video testedBeginner Tips: First-Run Marks, Recipes, Survival
Feed the Scorchpot beginner tips for the first 20-year run: how Marks are made from dice pairs, which buildings to cluster, why raw Fodder is not enough, and a safe early-year plan.
video testedBuildings Guide & Database
Learn how Farmsteads, Trade Posts, Harbors and Shrines shape your engine, what upgrades change, and why adjacency matters more than isolated building value.
officialDice Guide
Learn why pairwise Marks matter, what changes when you reach four dice, how colored and shaped dice support builds, and when permanent face edits are worth it.
officialRecipes Guide & Database
Understand recipe activation, Fodder, Flavor and Essence roles, upgrade risks, and the recipe archetypes worth tracking without creating 80 thin pages.
officialFeed the Scorchpot FAQ & Beginner Questions
Fast answers to common questions about Marks, the fourth die, recipe slots, scoring, buildings, builds, and surviving all 20 years.
What is Feed the Scorchpot and how do you play it?+
Feed the Scorchpot is a dice-driven roguelite where you place buildings, roll dice to create Marks, harvest ingredients, combine recipes, and feed a dragon across a 20-year run. The board has Catan-style adjacency, while the scoring and synergy chase has a Balatro-like feel.
Read the full guide →How do Marks work in Feed the Scorchpot?+
Marks are the pairwise sums of your kept dice, and those sums activate matching board tiles. Three dice can create three pairwise Marks; four dice can create six, so dice choice and Mark coverage are central to every build.
Read the full guide →How do you unlock the fourth die in Feed the Scorchpot?+
Reach the Harbor or Dock milestone that increases your die capacity, then buy an additional die to fill the new slot. The fourth die is a major power spike because it can double the number of pairwise Marks from three to six.
Read the full guide →How do you unlock more recipe slots in Feed the Scorchpot?+
Reach the Trade Post milestone shown in-game to increase the number of recipes you can activate in a season. Extra recipe slots matter because multiple recipe effects can combine into much stronger scoring turns.
Read the full guide →How do Fodder, Flavor, Essence, and Prosperity work?+
Fodder is the raw food value you harvest, while Flavor and Essence act as powerful scoring multipliers. Prosperity rewards efficient years and helps your run snowball, so strong builds balance raw production with multiplier growth.
Read the full guide →What are the best early-game buildings in Feed the Scorchpot?+
Early-game priorities usually revolve around Farmsteads for reliable production, Trade Posts for Flavor and recipe capacity, Harbors or Docks for die progression, and Shrines for more roll control. The best choice depends on your board and recipe direction.
Read the full guide →How do you survive all 20 years in Feed the Scorchpot?+
Build a reliable Mark engine first, add Flavor and Essence before hunger scaling outruns your raw harvest, and use spare seasons to grow Prosperity. Later years punish narrow setups, so extra dice, recipe slots, and rerolls become increasingly valuable.
Read the full guide →What are the best Feed the Scorchpot builds for beginners?+
Beginner-friendly builds usually focus on a small set of repeatable Marks and one clear food or recipe synergy instead of chasing every tile. High-Mark setups, focused ingredient builds, and early Flavor scaling are good starting archetypes to learn.
Read the full guide →One useful page per search intent
Synonyms merge instead of spawning thin pages.
Best Early Game Strategy for Feed the Scorchpot
Build a stable first five years by inspecting recipes before placement, sharing Marks across tiles, adding Flavor early and preserving money for capacity.
ProgressionAchievements Guide
Track the 40 achievements currently listed for the full Steam release without mixing demo-only information into current unlock conditions or solutions.
ProgressionBuilding Milestones & Unlocks
Learn why building families unlock more seasons, recipe capacity, dice capacity and roll opportunities, and how to prioritize those structural upgrades.
ProgressionDifficulty Levels Guide
Understand the ten appetite difficulty names seen in full-game footage and how higher tiers can alter attacks, building growth and recipe pressure.
ProgressionDragons Guide
See the dragons and ruler seeds observed in full-game footage, what we can safely confirm now, and what still needs live-Codex verification before separate pages.
SystemsFarmstead Guide
Use Farmsteads to turn useful Marks into ingredients, cluster production around amplifiers, and specialize only when your recipe plan can support it.
StrategyHarbor & Dock Placement Guide
Place Harbors and Docks around coastal tile bonuses without accidentally breaking ingredient-restricted builds, and use them to support dice progression.
StrategyRecipe Upgrades Guide
Upgrade recipes without making them impossible to activate: check cost, ingredient supply, Mark reliability and slot competition before spending a Quill.
SystemsShrine Guide
Place Shrines beside the buildings that matter most, use their amplification to concentrate output, and progress toward more dice-roll opportunities.
SystemsTools Guide
Understand the tool tray, permanent dice edits, tile manipulation, recipe upgrades, rerolls and copying effects seen in current and supplied gameplay.
SystemsTrade Post Guide
Use Trade Posts for adjacency Flavor, income and recipe-slot progression, and learn why the best location usually touches multiple productive Farmsteads.
SystemsFodder, Flavor, Essence & Prosperity Explained
Understand how Feed the Scorchpot turns harvested ingredients into Fodder and multiplies meals with Flavor, Essence and long-run Prosperity.
StrategyHow to Survive All 20 Years in Feed the Scorchpot
A practical twenty-year survival plan covering early engine setup, capacity breakpoints, scorched-board recovery and late-run consistency.
ProgressionHow to Unlock More Recipe Slots in Feed the Scorchpot
Learn how Trade Post progression expands simultaneous recipe capacity and why the second active recipe can create a major scoring breakpoint.
ProgressionHow to Unlock the Fourth Die in Feed the Scorchpot
See the progression path toward a fourth die, why it doubles pairwise Mark combinations from three to six, and what to prepare before buying the new die.